| Lamp
There are Halogen Lamps that are ideal for a bike lamp, which already
have a sealed glass front:
You can get them in 35 & 50mm diameter and a large variety of
technical specifications (Volts, Watts and BeamAngle - most of them are
12 Volt) I have used 20W / 10º and 35W / 30º
lamps.
The 10º is a little narrow for off-road use, but good on the street,
when you don't want to blind cars.
Note: I have read many times, that the quality of lamps is important:
The better ones seem to produce much more light at the same nominal
Watts.
|
 |
|
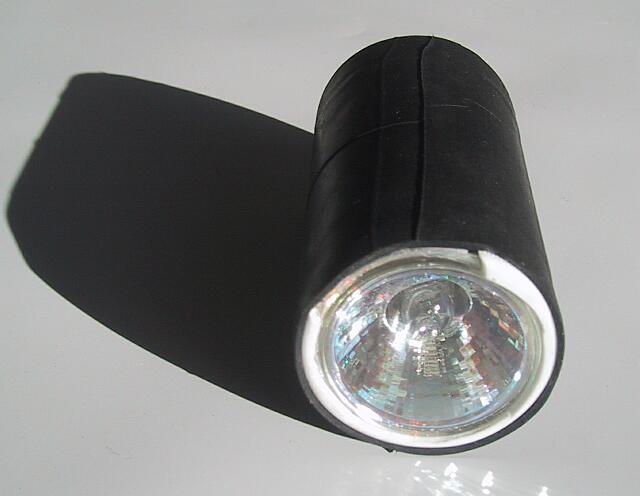
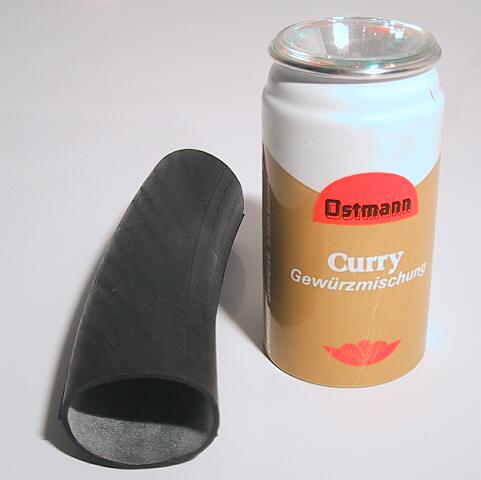
| Casing
I searched a while for a high-quality aluminium tube to build my lamp
from, before my father brought a piece that was the ideal fit: A can of
hair-spray. In the meantime, I have found another nicely-fitting can,
that is available in many colors and odors ;-) Don't be afraid by
the thin walls: You can easily put a dent in these cans, but that is
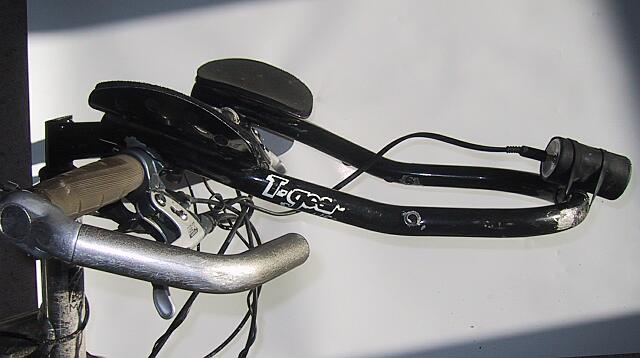
actually not a problem: if you want to mount the lamp directly on the
handlebar with a rubber-band, like I do it, this will improve the
friction.
|
 |
|
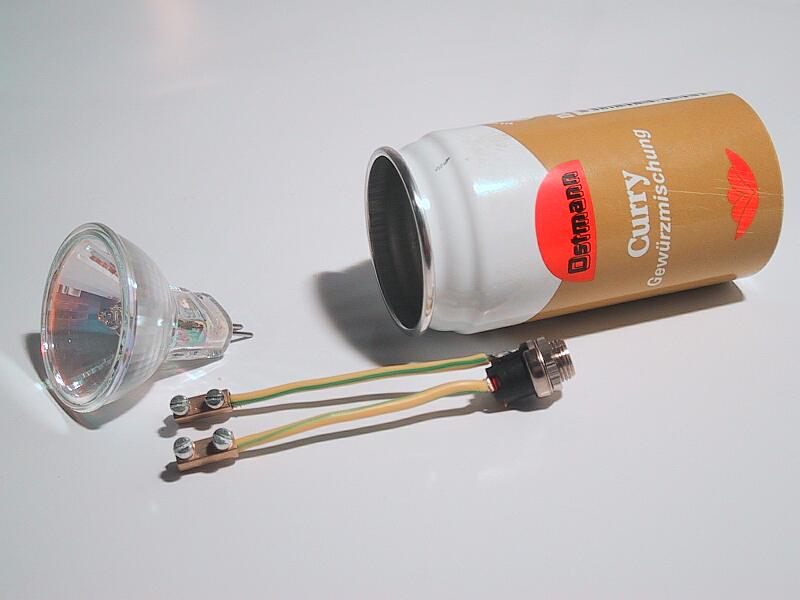
| Lamp-Socket
You can buy the regular ceramic halogen-lamp sockets, but they cost
nearly as much as the lamp.
Much cheaper is my solution: just cut apart the screw-connectors (
E:"terminal
block", D:"Lüsterklemme")
and screw them directly on the lamps rigid feet.
|
 |
|
| Glue
Because the lamp is directly glued into the housing, you will need
heat-resistant glue.
Silicone glue is ideal for this, you can get it in different sizes, but
will only need very little of it.
|
 |
|
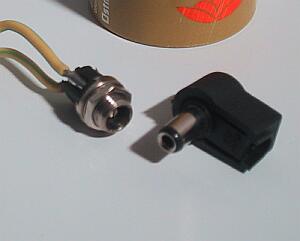
| Connectors / Plugs
You can use any connector you find suitable. I found the ones shown
in the picture optimal. (German: Niedervolt-Steckvebinder @
www.Conrad.de)
I don't use any switches, because it is convenient enough to plug-it-in
= "On" / pull-it-out-a-bit = "Off" . This saves me
from another electrical part that might corrode and fail.
|
 |
|
| Battery:.
First you have to decide for a general battery type:
- NiMh : + High Capacity, + Low
Weight, - High Price, - High inner Resistance (*)
- NiCd : - Low Capacity, +
Weight, 0 Med.
Price + Lower inner Resistance
- LiIon: - Way to expensive + Lowest Weight
- Lead: + Low
Price, + Low inner Resistance (*),
- High Weight
(*) High inner resistance means that you will loose a lot of power in
the battery for bigger lamps (high current)
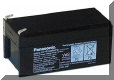
I decided for the lead type, as do most of the self-made projects I
have seen. The price-value is certainly the best, and there are lots of
sizes available. Panasonics seemed to have a fair price, and they had
two sizes I considered: 2.2Ah and 3.4Ah. In the end I went for the 3.4
and it was a good decision. With my 20Watt lamp I should get ~2 hours,
but in cold temperatures it is often just 1'15h
| Technical
Data |
Picture |
| LC-R122R2P
(LCR12V2.2P) |
12V |
2.2
Ah |
177 x
34 x 60mm |
800g |

|
| LC-R123R4P
(LCR12V3.4P) |
12V |
3.4
Ah |
134 x
69 x 60mm |
1200g |
|
|
|


